Print Recipe Print Recipe Ingredients Walnut Biscuit - 5 eggs, separated, room temperature
- 100 grams granulated sugar
- 25 grams granulated maple sugar
- 125 grams cake flour, sifted
- 3 ounces toasted walnuts, finely chopped
Directions - 4 large egg yolks
- 55 grams cornstarch
- 40 grams sugar, plus 75 grams sugar
- 75 grams maple syrup
- 2 tablespoons whiskey (recommended: Jack Daniels)
- 1/2 vanilla bean, scraped
- 2 cups milk
- 28 grams butter
- 1/2 teaspoons salt
- 1/4 teaspoon maple extract
- 1 cup heavy cream
Buttercream - 113 grams sugar
- 3 large egg yolks
- 1 whole egg
- 1 to 2 tablespoons whisky (recommended: Jack Daniels)
- 1/4 teaspoon maple extract
- 12 ounces butter, room temperature
Sugared Cranberries - 1 cup sugar
- 1 cinnamon stick
- 2 cups cranberries (cannot have been frozen)
- Candied walnuts, store-bought
- Candied orange peel, store-bought
- 225 grams butter, at room temperature
- 350 grams maple syrup
- 1/2 vanilla bean, scraped
- 1/2 teaspoon salt
- 240 grams egg whites
- 225 grams all-purpose flour
- Luster dust, optional
For the walnut biscuit: Preheat panggangan to 350 degrees F. Butter a half sheet pan, line with parchment paper, butter the paper and dust with flour. Whip the egg whites to soft peaks. Beat in both sugars and whip to a stiff, glossy meringue. Alternately fold the cake flour and egg yolks into the meringue in 3 batches, starting and ending with the flour. Fold in the nuts. Spread the batter evenly in the pan, and bake until the cake is pale gold, the center springs back when you press it lightly with your finger, and the edges start to pull from the sides of the pan, 10 to 12 minutes. For the pastry cream: Whisk the yolks, cornstarch, and the 40 grams sugar in a medium bowl; the mixture will be very thick, but try to whisk enough to remove most of the lumps. Put the 75 grams sugar in a medium saucepan and cook over medium heat until dark brown; don't worry if it crystallizes a bit. Turn the heat to low and whisk in the maple syrup, then whisk in the whisky, turn up the heat, and let simmer for 1 to 2 minutes to boil off the alcohol. Whisk the milk and vanilla bean scrapings into the caramel mixture and bring to simmer. Slowly whisk about half of the hot mixture into the yolks, then whisk that mixture back into the pot, bring to a boil, whisking, and cook, still whisking, until thickened. Remove from the heat and whisk in the butter, salt and maple extract. Pour into a shallow dish, press plastic wrap onto the surface, and chill until set and very cold, about 4 hours. Beat the cold pastry cream in a standing mixer until smooth. When ready to use, whip the cream until it is very stiff, then beat into the pastry cream. Chill until ready to use. For the buttercream: Put the sugar in a medium pot and add enough water just to moisten; use your fingers to wet the sugar evenly. Bring to a boil. While the sugar is heating, start beating the yolks and egg in a standing mixer with the whisk attachment. When the syrup reaches about 240 degrees F on a candy thermometer (softball stage), pour it into the yolks with the mixer still running, taking care not to pour it onto the whisk. Beat until cooled to room temperature. Beat in the whisky and the maple extract. Cream the butter in another mixing bowl using the paddle attachment. Beat in the cooled egg mixture until smooth. You can use it right away, or chill it overnight; if you chill it, rebeat when you are ready to assemble the cake. For the sugared cranberries Have a cookie sheet or shallow dish and a slotted spoon next to the stove. Put the sugar in a medium pot and add enough water just to moisten; use your fingers to wet the sugar evenly. Add the cinnamon stick. Bring to a boil, add the cranberries, and immediately pull from the heat. Transfer the cranberries to the cookie sheet with the slotted spoon. Cool. For the maple tuiles Cream the butter, maple syrup, vanilla bean scrapings and salt until smooth. Scrape the sides of the bowl and beat in egg whites until smooth. Beat in the flour. Let the batter rest and hour or so at room temperature, or overnight in the refrigerator. Bring to room temperature before baking. Preheat the panggangan to 325 degrees F. Line a sheet pan with a silpat. Using a stencil, smear the batter thinly on the silpat and bake until dark golden brown, about 6 to 8 minutes. Remove from the pan while still warm. If you want to shape the cookies, put them over a bottle or rolling pin while warm; let cool. If desired, brush lightly with luster dust. Assembly Turn the cooled cake onto a piece of parchment or waxed paper with a long side near you. Spread the chilled pastry cream evenly over the surface, leaving a 2-inch border across from you. Using the parchment paper to lift, roll the cake as tightly as possible. Set seam side down on a platter or large pan, and chill for an hour or so. Frost the cake with the buttercream, smoothing the surface so it looks like bark. Decorate with candied cranberries, walnuts, orange peel, and tuiles. Ingredients Walnut Biscuit: - 5 eggs, separated, room temperature
- 100 grams granulated sugar
- 25 grams granulated maple sugar
- 125 grams cake flour, sifted
- 3 ounces toasted walnuts, finely chopped
Directions
- 4 large egg yolks
- 55 grams cornstarch
- 40 grams sugar, plus 75 grams sugar
- 75 grams maple syrup
- 2 tablespoons whiskey (recommended: Jack Daniels)
- 1/2 vanilla bean, scraped
- 2 cups milk
- 28 grams butter
- 1/2 teaspoons salt
- 1/4 teaspoon maple extract
- 1 cup heavy cream
Buttercream - 113 grams sugar
- 3 large egg yolks
- 1 whole egg
- 1 to 2 tablespoons whisky (recommended: Jack Daniels)
- 1/4 teaspoon maple extract
- 12 ounces butter, room temperature
Sugared Cranberries - 1 cup sugar
- 1 cinnamon stick
- 2 cups cranberries (cannot have been frozen)
- Candied walnuts, store-bought
- Candied orange peel, store-bought
- 225 grams butter, at room temperature
- 350 grams maple syrup
- 1/2 vanilla bean, scraped
- 1/2 teaspoon salt
- 240 grams egg whites
- 225 grams all-purpose flour
- Luster dust, optional
For the walnut biscuit Preheat panggangan to 350 degrees F. Butter a half sheet pan, line with parchment paper, butter the paper and dust with flour. Whip the egg whites to soft peaks. Beat in both sugars and whip to a stiff, glossy meringue. Alternately fold the cake flour and egg yolks into the meringue in 3 batches, starting and ending with the flour. Fold in the nuts. Spread the batter evenly in the pan, and bake until the cake is pale gold, the center springs back when you press it lightly with your finger, and the edges start to pull from the sides of the pan, 10 to 12 minutes. For the pastry cream Whisk the yolks, cornstarch, and the 40 grams sugar in a medium bowl; the mixture will be very thick, but try to whisk enough to remove most of the lumps. Put the 75 grams sugar in a medium saucepan and cook over medium heat until dark brown; don't worry if it crystallizes a bit. Turn the heat to low and whisk in the maple syrup, then whisk in the whisky, turn up the heat, and let simmer for 1 to 2 minutes to boil off the alcohol. Whisk the milk and vanilla bean scrapings into the caramel mixture and bring to simmer. Slowly whisk about half of the hot mixture into the yolks, then whisk that mixture back into the pot, bring to a boil, whisking, and cook, still whisking, until thickened. Remove from the heat and whisk in the butter, salt and maple extract. Pour into a shallow dish, press plastic wrap onto the surface, and chill until set and very cold, about 4 hours. Beat the cold pastry cream in a standing mixer until smooth. When ready to use , whip the cream until it is very stiff, then beat into the pastry cream. Chill until ready to use. For the buttercream Put the sugar in a medium pot and add enough water just to moisten; use your fingers to wet the sugar evenly. Bring to a boil. While the sugar is heating, start beating the yolks and egg in a standing mixer with the whisk attachment. When the syrup reaches about 240 degrees F on a candy thermometer (softball stage), pour it into the yolks with the mixer still running, taking care not to pour it onto the whisk. Beat until cooled to room temperature. Beat in the whisky and the maple extract. Cream the butter in another mixing bowl using the paddle attachment. Beat in the cooled egg mixture until smooth. You can use it right away, or chill it overnight; if you chill it, rebeat when you are ready to assemble the cake. For the sugared cranberries Have a cookie sheet or shallow dish and a slotted spoon next to the stove. Put the sugar in a medium pot and add enough water just to moisten; use your fingers to wet the sugar evenly. Add the cinnamon stick. Bring to a boil, add the cranberries, and immediately pull from the heat. Transfer the cranberries to the cookie sheet with the slotted spoon. Cool. For the maple tuiles Cream the butter, maple syrup, vanilla bean scrapings and salt until smooth. Scrape the sides of the bowl and beat in egg whites until smooth. Beat in the flour. Let the batter rest and hour or so at room temperature, or overnight in the refrigerator. Bring to room temperature before baking. Preheat the panggangan to 325 degrees F. Line a sheet pan with a silpat. Using a stencil, smear the batter thinly on the silpat and bake until dark golden brown, about 6 to 8 minutes. Remove from the pan while still warm. If you want to shape the cookies, put them over a bottle or rolling pin while warm; let cool. If desired, brush lightly with luster dust. Assembly Turn the cooled cake onto a piece of parchment or waxed paper with a long side near you. Spread the chilled pastry cream evenly over the surface, leaving a 2-inch border across from you. Using the parchment paper to lift, roll the cake as tightly as possible. Set seam side down on a platter or large pan, and chill for an hour or so. Frost the cake with the buttercream, smoothing the surface so it looks like bark. Decorate with candied cranberries, walnuts, orange peel, and tuiles.
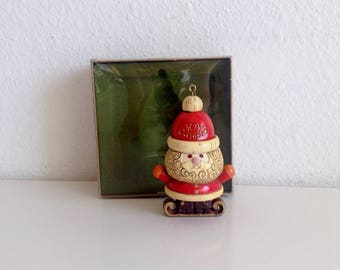
Jejak PandaHai.. Bertemu Lagi Di Website Kesayangan Andasitus bandarq Decorating Christmas trees became popular in America in the early 1800s as immigrants from Germany brought hand-made ornaments to America with them. In 1880, Woolworth stores began carrying ornaments although Mr. Woolworth was not too sure about the prospect of selling ornaments. Within 10 years, his stores were selling $25 million dollars worth of five and ten cent ornaments. It was around 1973 when Hallmark decided to try their hand at the ornament business. It all started with some yarn ornaments and six glass bulbs. Hallmark now has more than 100 ornament series in addition to approximately 3,000 other ornaments that they have introduced over the years. The Hallmark ornament designers are true artisans and design ornaments with subjects that have special meaning to them. Many Hallmark artists design ornaments that bring back heartwarming Christmas memories or design something current they love. Therefore, the consumer can relate to many of these charming Hallmark ornaments.  If you have ever seen a Hallmark ornament, you will agree that they have exquisite craftsmanship and the quality of the ornament is great. The small detail in Hallmark ornaments is amazing and contributes to their uniqueness and ability to capture unforgettable moments. There are ornaments for special occasions such as First Christmas Together, Baby's First Christmas, Mom-To-Be and New House. There are ornaments that are dated making them great keepsakes. In fact, Hallmark calls their ornaments Keepsake Ornaments. Hallmark ornaments quickly reached collector status and collectors rush to their favorite Hallmark store in July of every year when the new collection premiers. Then in October the rest of the line comes out to keep collectors coming back. Hallmark has an Ornament Collectors Club that you can join for a reasonable fee. Your membership entitles you to choose two free ornaments that are collector-club-only ornaments. There are usually four and Club members have the option of buying the other two. All ornaments are coded so that collectors know by the symbol on them what year they came out.  Besides decorating the tree, Hallmark ornaments can be used as gifts. There is so much variety in the over-all collection that you ought to be able to find an ornament for anyone on your gift list. Another use of ornaments is as decorations. Ornaments are cute added to a ribbon that is tied around the napkins or just as part of your centerpiece. You can set a pretty round ornament on top of a glass candlestick holder and it makes a lovely table setting. You also can hang them on a wreath for decoration. In fact, several years ago, Hallmark came out with a wreath that had hooks already on it to make it easy for you to decorate your wreath with ornaments. Not all of the ornaments are Christmas related so you can use them as decorations or use them in shadow boxes all year round. Many of the ornaments are child-related so you can use them as decorations in your child's room. Themes such as Thomas the Train, Winnie the Pooh, Super Heroes, Athletes, Trains, Star Trek or Barbie are just a few of the selections you can make. They are not toys, though, and may have small parts. You may also find an ornament relating to different professions among the Hallmark collection.  Of course, you could not have Christmas without Nativity ornaments, creches, angels and other religious ornaments to commemorate the Christmas season. They, too, are lovingly crafted and wonderful reminders of the true meaning of Christmas. If you have never seen a Hallmark ornament, you might want to check them out. They will surely bring a smile to your face.
Jejak PandaHai.. Bertemu Lagi Di Website Kesayangan Andasitus bandarq Is that you? Santa Claus? Who is Santa Claus? Where did his story begin? Why does he have so many different names? As a company that specializes in online education, we felt it was our duty to learn and share. Below the infographic, you’ll find a more detailed timeline of some additional Santa-related events. Do you have more to add to the story? What are your Christmas traditions? We’d love to hear in our comments below.  The Santa Timeline | Year | Event |
|---|
| 1 | Christmas celebrates the birth of Christ, and the gift-giving began as a remembrance of the 3 wise kings who came from the east to give gifts to the Christ child. To this day, many Catholic countries celebrate 3 Kings Day in the beginning of January as their primary gift-giving day. | | 280 | Saint Nicholas is born. He did not live in North Pole, but was a Greek bishop in present-day Turkey. He was known for many miracles and for his generosity, particularly to children. In one story, he visited a poor man at night, and anonymously threw 3 purses of gold in his window. | | 900 | Catholic church canonizes Saint Nicholas (he becomes an official Saint). Over the years he had become the symbolic “gift giver†of winter celebrations. | | 1600s | After the Protestant Reformation, Martin Luther’s followers declared that Saint Nicholas was detracting from the true meaning of Christmas. They soon adopted their own “gift-giving†figure called the Kristkindt (Christ Child), an angelic child who went from house to house quizzing kids on their bible knowledge. Fun, huh? Mothers declared that the Kristkindt was too young to travel alone, so they brought back Saint Nicholas. | | 1600s | Dutch Immigrants brought with them the legend of Sinterklaas, a figure who rides the roof tops upon a white horse, has a long beard, and visits houses with his mischevious black-faced helpers. Children would place boots filled with carrots or sugar (treats for the horse) near the chimney. | | 1770s | After the American Revolution, English customs fell out of favor, including Christmas. Christmas wasn’t declared a federal holiday until June 26, 1870 | | 1809 | in his book “A History of New York,†Washington Irving wrote about Saint Nicholas riding into town on a horse. 3 years later, he revised the book to include Nicholas riding over the trees in a wagon. | | 1822 | Clement Clarke Moore writes “The Night Before Christmas†in which Saint Nick is portrayed as an elf with a miniature sleigh pulled by eight tiny reindeer. | | 1860 | From the 1860s through the 1890s, reknowned illustrator Thomas Nast created Santa images for Harper’s Magazine. He also created posters of Santa sitting with Union soldiers during the Civil War, which demoralized the Confederate army. | | 1920s | The image of Santa has been standardized to what we still picture today — a bearded, overweight, jolly man dressed in a red suit. | | 1931 | Haddon Sundblom illustrated a series of Santa images to advertise Coca-Cola. Coke Christmas ads continue to this day. | | 1939 | Writer Robert L. May created a poem about Rudolph, the ninth reindeer, who was teased by the other reindeer because of his slight build and shiny nose. 10 years later Johnny Marks wrote the song “Rudolph the Red-Nosed Reindeer, which became one of the most popular Christmas songs of all time. |
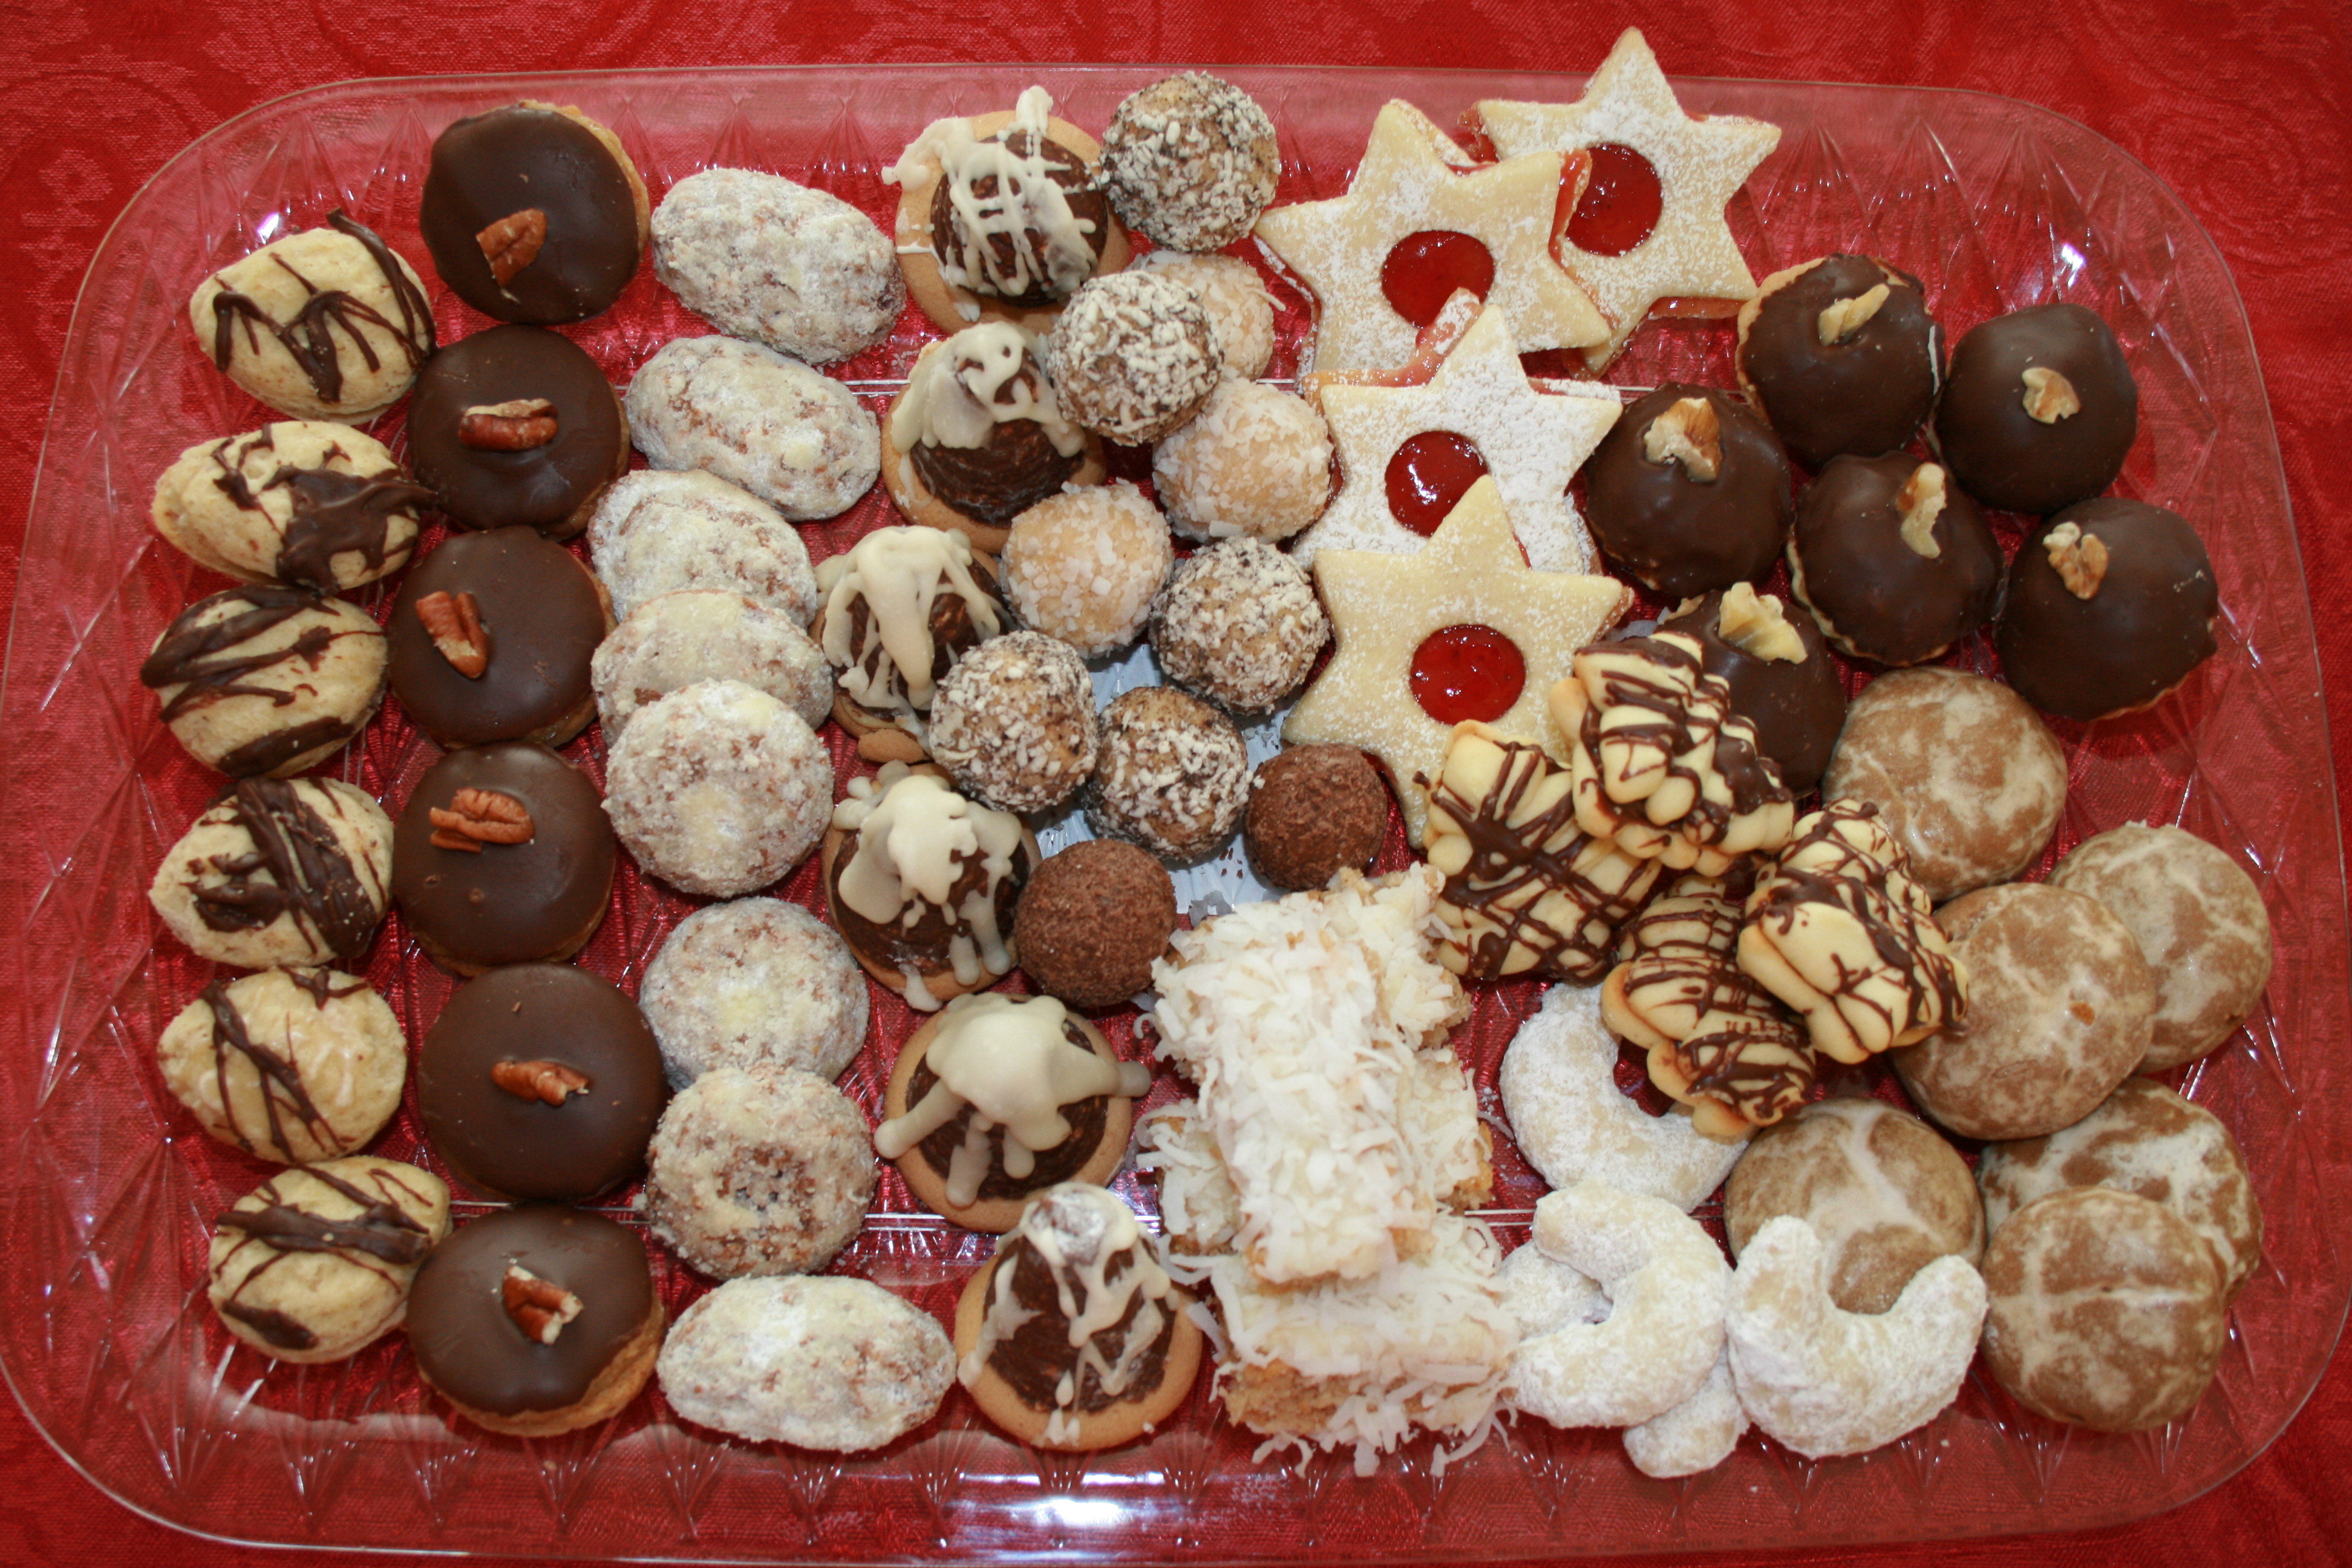
Jejak PandaHai.. Bertemu Lagi Di Website Kesayangan Andasitus bandarq In the Czech Republic, preparations for Christmas begins right from around mid-November. Houses are thoroughly cleaned, carpets washed and furniture dusted. Gift shops and departmental stores are seen to be decked for the occassion. The festive spirit is apparent with buyers turning up at the stores every evening to purchase gifts, new apparels and various items of decoration. Also bought are sweets like Linzer cookies and Vanilla roll or food items such as " Vanoka", traditional Christmas loaves. These are either bought or even baked at home. The Advent period begins here four Sundays before Christmas Eve. During this time, a wreath is made of several evergreen branches fastened together, decorated with ribbons, pinecones and other trinkets and four candles placed around it, each representing one of the four weeks of the Advent period. Children are gifted beautiful Advent calendars to count the days to December 25. Every day they open one of the 24 small windows in it and find a small reward, usually a piece of chocolate, behind each of them.  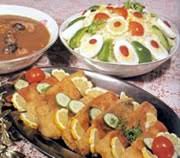 | Some dinner foods from the Czech Republic
| A well known custom observed here is "Barborky" that is practiced on the feast day of St. Barbora. On every 4th of December, young girls of marriageable age cut off a twig from a cherry tree and put it in water. If it blooms by Christmas Eve, the girl is believed to get married sometime during the coming year. In the simpulan days to December 25th, gifts and greetings are sent out to friends and family members. Every individual home is decorated as beautifully as possible. The Christmas tree is indisensable to the Czech Christmas decorations. Fruits such as red apples and nuts, straw crafts and glass decorations are traditionally used to adorn these trees. Christmas trees are set up, either on December 23rd or 24th, in individual homes and even in public squares in Czech towns and cities. The Christmas tree on Prague’s Old Town Square is very popular and a tourist attraction during the season. Christmas trees,   | | Some holiday treats from the Czech Republic | whether in Czech homes or public spots, are taken down usually before January 6th, the Day of Epiphany. Setting up the manger is also an important part of Czech Christmas and one of the oldest traditions here. Throughout the republic, the Nativity Scene is created in varying sizes and from various materials like wood, paper, ceramics, gingerbread and the like. The Baby Jesus, surrounded by Mary and Joseph, form the focus of the manger scene. The Christmas season in the Czech Republic begins with the feast and the visit of St. Nicholas or Svaty Mikalas on December 6th. The feast of St. Nicholas (or Svaty Mikalas) is enthusiastically celebrated here. During the evening of the 5th December, children watch the sky for any sign of St. Nicholas. Czechs believe that Svaty Mikalas climbs down to earth from the heaven using a golden rope and carrying two sacks - a sack filled with presents for good children and a sack filled with sticks for kids who behave badly throughout the year. On the eve of the feast day, December 5th, children hang a stocking in their windows to be filled by St. Nicholas at night. On St. Nicholas' day, children wake up to recieve their presents. But they get their main presents only on Christmas eve evening. On Christmas Eve (December 24th) families gather at home to decorate the Christmas tree and prepare dinner. Many people, especially the devout ones, fast all day long on Christmas Eve and break it with a grand meal in the evening, when the first star emerges in the night sky. All relatives and friends are invited to the Christmas dinner. Fish soup and fried carp with potato salad form the main hidangan of a traditional Christmas Eve dinner. It is considered unlucky to get up from the table before everyone is finished. Also, the table is always set for an even number of guests in the belief that it would bring bad luck if done otherwise. Presents are exchanged after dinner and often, fortunes are told. At midnight, people attend Holy Mass, known as "Pasterka". On December 25th (Christmas Day), the churches in Czechoslovakia are adorned with evergreens and Christmas Trees. The festivities last for three days. Czechs traditionally have a cod roe soup on this day and tempt each other with tales of a mythical golden pig. Everyone wishes each other 'Prejeme Vam Vesele Vanoce' (Merry Christmas) on this day.
Jejak PandaHai.. Bertemu Lagi Di Website Kesayangan Andasitus bandarq This comes from www.marthastewart.com . Almost anyone will enjoy making and setting these out for the holidays. Create a Winter Wonderland in a Jar The shimmering magic of snowfall is always transfixing, whether it's outside your window or inside this classic toy. Homemade globes let you create a wintry scene straight out of your own imagination.
Almost any jar works for this project: Baby-food, pimiento, and olive jars are good choices. Look for plastic or ceramic figurines (metal ones are prone to rust) at flea markets and hobby or model-railroad shops. Synthetic evergreen tips are available at many floral-supply stores. You will also need oil-based enamel paint, sandpaper, epoxy, distilled water, glitter, and glycerin (available at drugstores). Add Distilled Water and Glitter If the jar lids are not in seasonal colors already, paint them with oil-based enamel paint. Sand the inside of the lid until the surface is rough. With clear-drying epoxy, adhere the figurine to the inside of the lid, and let the epoxy dry. Fill the jar almost to the top with distilled water; add a pinch of glitter and a dash of glycerin to keep the glitter from falling too quickly. Don't add too much, or the glitter will stick to the bottom of the jar when it's flipped. Screw on the lid tightly, being careful not to dislodge the figurine. Turn the jar over and back again -- and let it snow. Sleigh-Ride Snow Globe For a more professional look, you can also assemble a snow globe using a water globe and base. With a little shake, our customized snow globe even jingles! The horse, sleigh, and pine tree are model-train-set props. The bell-harness can be made with red and black enamel paint and tiny silver beads.  | | Customize the Snow Scene with Paint To customize the water globe, paint the base, the sleigh's interior, and the jingle harness red; glue on silver beads for bells and waxed twine for reins. When real snow is nowhere to be found -- as is the case in many parts of the United States in December -- you can conjure up a one-horse-sleigh ride. With a little shake, our customized snow globe even jingles. The horse, sleigh, and pine tree are model-train-set props. The bell-harness was made with red and black enamel paint and tiny silver beads; the reins were made from waxed twine. Sleigh-Ride Snow Globe Tools and Materials 6-inch water globe with base Sculpey modeling clay Snowflakes O scale horses and sleigh, legacystation.com (or use other small toys) Paint (for base and sleigh) Paintbrushes Silver beads (for bells) Waxed twine (for reins) Aluminum foil Drill with a 3/32-bit Screw and washer Silicone sealant Ribbon and bells (optional, for base) Note: Assembling the globe takes two days, so plan accordingly. Snow Globe How-To 1. To customize, paint base, sleigh's interior, and jingle harness red; glue on silver beads for bells and waxed twine for reins. 2. For snowbank, shape Sculpey clay over an aluminum-foil form, making sure resulting bank fits atop gasket inside base and is visible inside globe. 3. Press tree, sleigh, and horse into clay to make indentations. Bake clay according to label. Drill a hole into center of bottom of patty with a 3/32-bit; attach to gasket with a screw and washer. Cover seams with silicone sealant. Glue figures in place with sealant. Presoak snow, fill globe with water, and seal. Tie ribbon and bells around base.
|